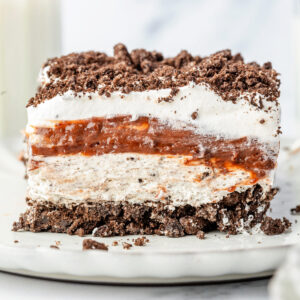
Great desserts do not have to be complicated, and this Oreo delight proves it. This no-bake dessert is perfect for just about any occasion, especially when you need to show up to a potluck with something you know people will actually be excited about. It is easy to make, feeds a crowd, and somehow always ends up being the first dessert gone.

If no-bake desserts are your go-to, there are a few more easy favorites you will want to check out next. The Dubai Chocolate Bark is perfect when you want a rich chocolate treat with almost no prep, while the Dubai Chocolate Puppy Chow is great for quick snacking or parties. And for a classic no bake option with great crunch, the Cornflake Cookies always come together fast and never last long.

Equipment
The equipment section may contain affiliate links to products we know and love.
Ingredients
- Oreos – 56 total (party size container)
- Salted butter
- Cream cheese – 8 oz.
- Powdered sugar
- Vanilla extract
- Cool Whip – 16 oz total
- Instant chocolate pudding mix – 2 (3.9 oz) packages
- Milk

Directions
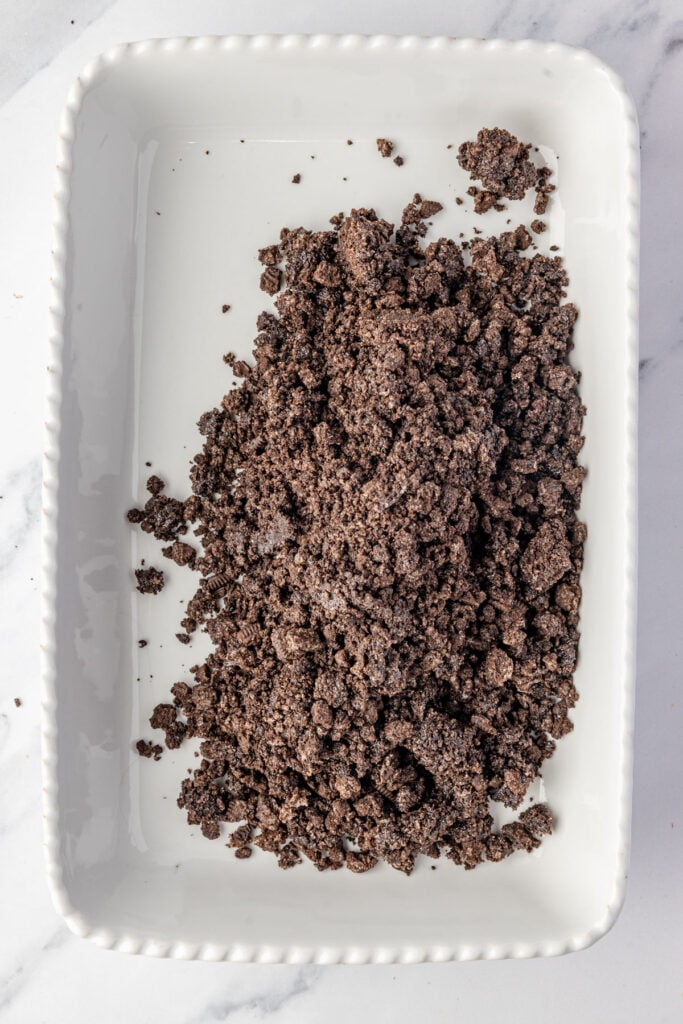
Crust:
Mix the Oreos and melted butter in a large mixing bowl. Press the Oreo mixture into the bottom of a 9 x 13-inch pan. Place the pan in the freezer for 5 to 10 minutes to allow the crust to set.
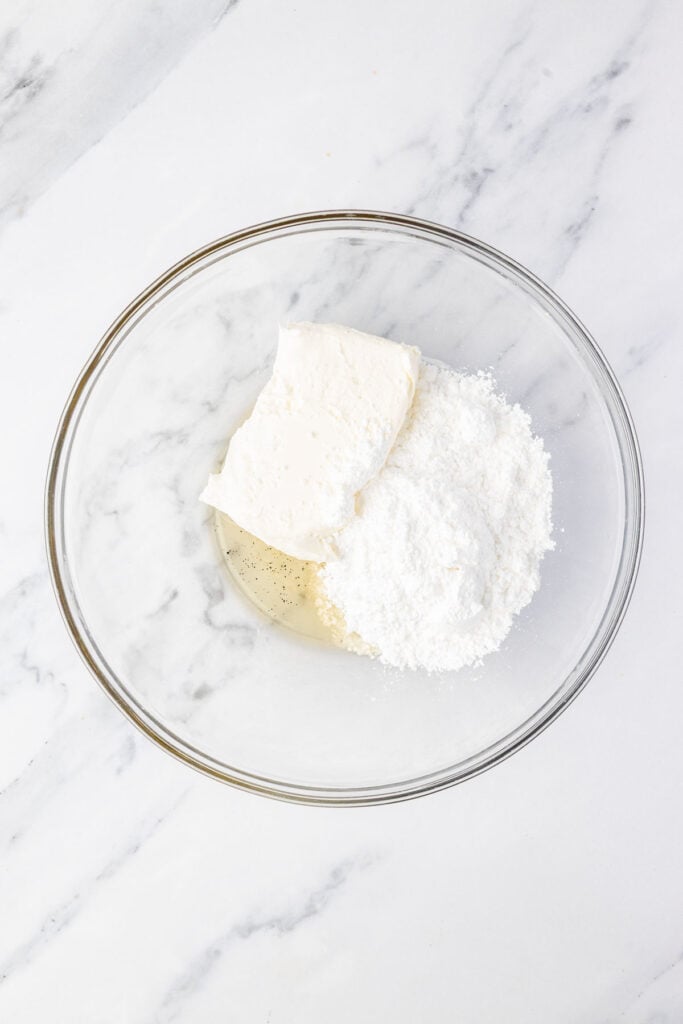
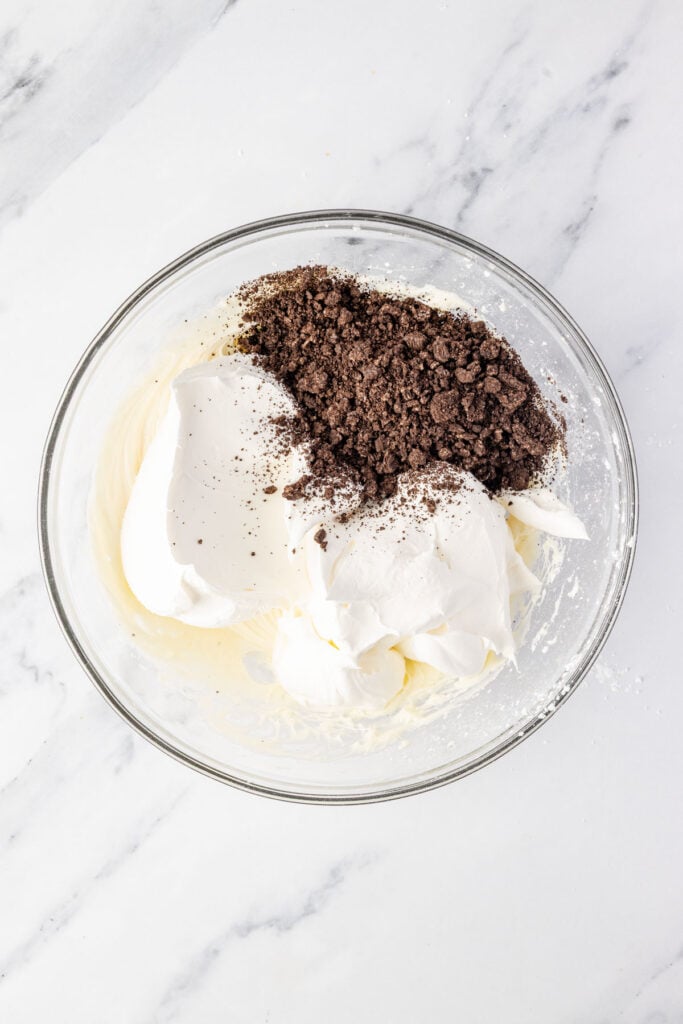
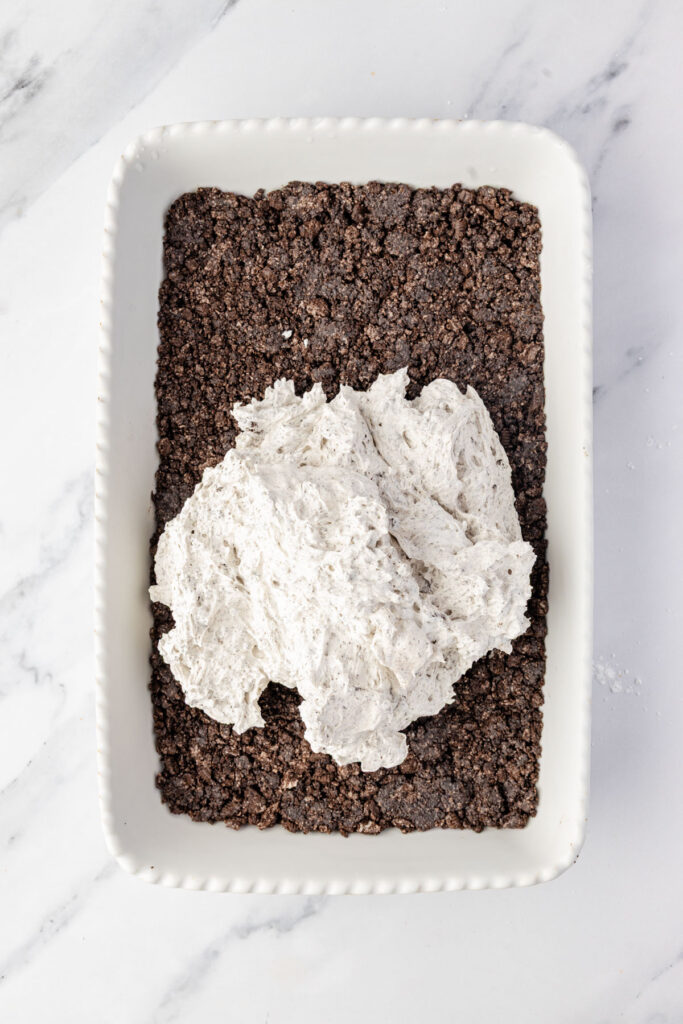
Cream cheese layer:
In a medium mixing bowl, beat together the cream cheese, powdered sugar, and vanilla extract until light and fluffy. Fold in the Cool Whip and crushed Oreos. Spread the mixture onto the crust and place it in the freezer for 5-10 minutes.
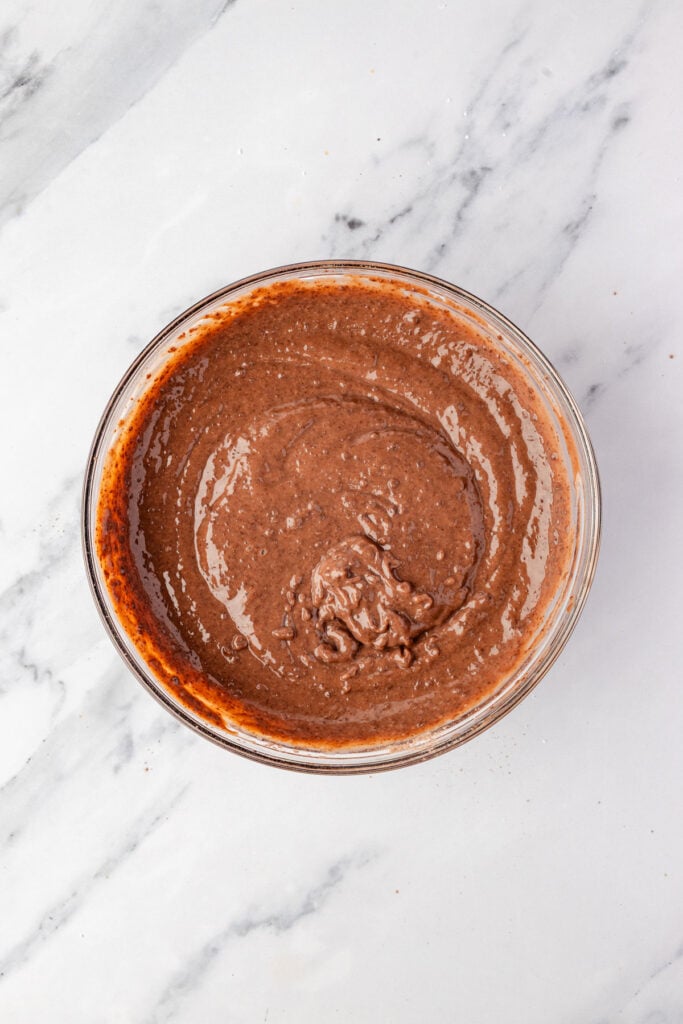
Pudding layer:
In a large mixing bowl, whisk together the milk and the chocolate pudding mix. Pour the pudding mixture over the cream cheese layer and place it in the freezer for 5 to 10 minutes to set.
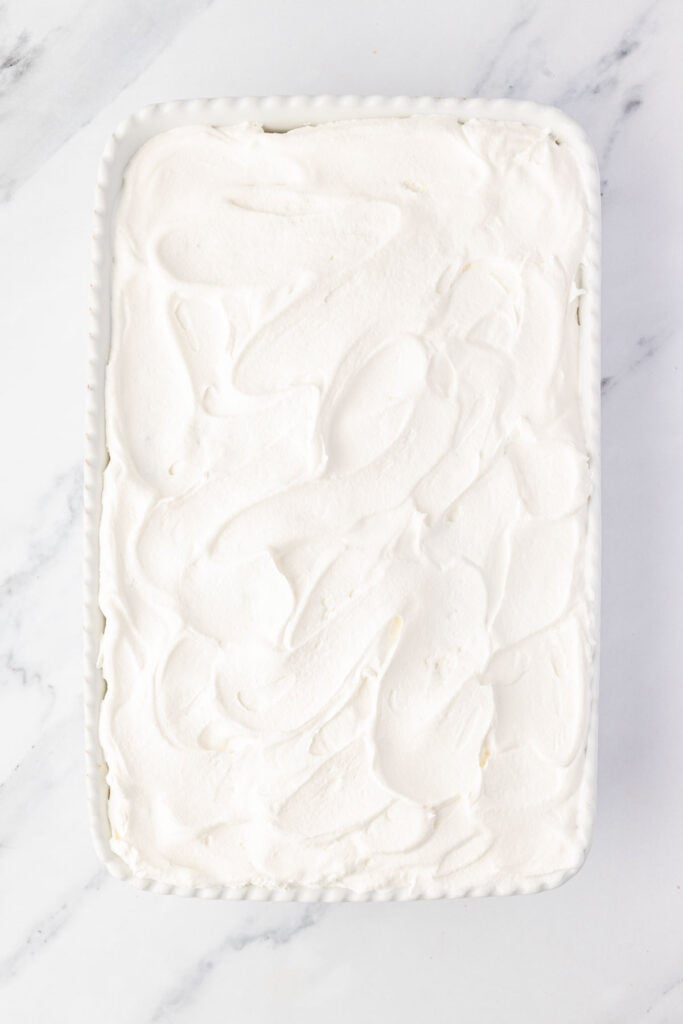
Cool Whip Layer:
Spread Cool Whip over the top of the chocolate layer, then sprinkle with crushed Oreo pieces. Refrigerate for at least 30 minutes before serving.
How do you serve this Oreo lasagna?
- This is a rich and creamy dessert that pairs well with a hot cup of coffee or cappuccino. But sometimes it is great to have with ice cold milk. Occasionally, I like to add fresh strawberries or raspberries to the plate to go with it as well.
FAQs (Because Life’s Too Busy for Guesswork)
You can use a food processor to make it fast and easy, or another option is to plate the Oreos in a large Ziploc bag and smash them with a rolling pin or meat mallet.
No, you can leave the cream; it helps add to the flavor and also binds the crust. They just aren’t Oreos without the cream.
Yes, you can make this dessert in advance of serving, as it does require some chill time once assembled. However, I would not recommend making them too far in advance, as the cookies will soften with time as they absorb the moisture around them.
It is key that you put the dish in the freezer between each layer, as it helps that layer set up quicker so that when you add the next one, it doesn’t mix with the one below it. Allowing for a clean separation of layers throughout the dessert. If you don’t have the room in your freezer, you can place it in the fridge for 30 minutes instead of five minutes in the freezer.

What are substitutions that I can make?
- Oreos – They make a gluten-free Oreo you can use for a gluten-free option. It doesn’t matter if you use the single or double stuffed, so pick the one you prefer.
- Cream cheese – Both the full-fat and the light versions of cream cheese will work in this dessert.
- Vanilla extract – A homemade vanilla extract can be used, as well as a vanilla bean paste. The paste is more concentrated, so you will only need half of what the recipe calls for. It will also leave flecks of the vanilla bean in the dessert, so don’t worry when you see the little black dots.
- Cool Whip – The original is what was used for this recipe, but if you want to cut the sugar in the dish, you can use a sugar-free version. If you want it to be a little denser, you can use the extra creamy.
- Instant chocolate pudding – Like the Cool Whip, there are sugar-free options you can go with. But do make sure that it is instant pudding and not the cook-and-serve, or it will not set up correctly. You also will not want to put hot pudding on top of the cold cream cheese layer.
How should I store my leftovers?
- Oreo Lasagna should be stored tightly covered in the refrigerator for up to 5 days. To freeze, place in an airtight container and freeze for up to 3 months. Defrost in the refrigerator overnight before serving. Note that the texture may change after defrosting.
Was this a win at your dinner table?
Leave a quick rating or review below! It helps other busy families find the recipes that actually get eaten.
Oreo Delight
Equipment
- Large mixing bowl
- 9x13-inch pan
- Medium mixing bowl
- Mixer
- Large mixing bowl
- Whisk
- Spatula
- Measuring cups and spoons
Ingredients
Crust:
- 36 chocolate Oreos crushed
- 6 tablespoons salted butter melted
Cream cheese layer:
- 8 ounces cream cheese softened
- 1 cup powdered sugar
- 1 teaspoon vanilla extract
- 8 ounces Cool Whip
- 10 Oreos crushed
Pudding layer:
- 2 3.9 oz packages instant chocolate pudding mix
- 3 1/2 cups milk
Cool Whip Layer:
- 8 oz Cool Whip
- 10 Oreos crushed
Instructions
Crust:
- Mix the Oreos and melted butter in a large mixing bowl. Press the Oreo mixture into the bottom of a 9 x 13-inch pan. Place the pan in the freezer for 5 to 10 minutes to allow the crust to set.
Cream cheese layer:
- In a medium mixing bowl, beat together the cream cheese, powdered sugar, and vanilla extract until light and fluffy. Fold in the Cool Whip and crushed Oreos. Spread the mixture onto the crust and place it in the freezer for 5-10 minutes.
Pudding layer:
- In a large mixing bowl, whisk together the milk and the chocolate pudding mix. Pour the pudding mixture over the cream cheese layer and place it in the freezer for 5 to 10 minutes to set.
Cool Whip Layer:
- Spread Cool Whip over the top of the chocolate layer, then sprinkle with crushed Oreo pieces. Refrigerate for at least 30 minutes before serving.

This looks so delish, those Oreo layers are calling my name. Saving to make this weekend!
This was delicious! My family loved it. Leftovers were great, and we got to have dessert for a few days. This will be my go to dessert for potlucks!
You had me at oreos! This was so easy and so fun to make and it disappeared verrrrrry quickly. So good!
Every layer is an absolute treat and combined this is the ultimate dessert! A definite keeper, everyone loved it!
This was so good. We definitely want to make it again soon, everyone loved it! Thank you.